Step-by-Step Process for Getting a Custom Vinyl Vehicle Wrap Installed
Vehicle wrapping has evolved from a niche customization hobby into a mainstream branding and protection strategy for millions of drivers. According to recent industry data, the global vehicle wrap market is projected to grow significantly through 2026, driven by the demand for mobile advertising and paint protection. This surge in popularity means that understanding the installation workflow is critical for ensuring your investment yields a flawless, durable finish. Whether you are looking to change your car's color or brand your commercial fleet, the process requires precision, specialized materials, and expert hands. This guide breaks down the exact steps involved in getting a custom vinyl vehicle wrap installed, from initial concept to final quality control. (Contact Us 360 Wraps)
Understanding the Basics of Vehicle Wraps
Before diving into the installation steps, it is essential to define what a vehicle wrap actually is. A vehicle wrap is a large vinyl graphic that is applied to the exterior of a vehicle. Unlike traditional paint, which is a liquid coating that bonds chemically to the surface, a wrap is a physical film that adheres to the paint. This distinction is crucial because it means the wrap can be removed later, leaving the original paint intact. This reversibility makes wraps an attractive option for both personal vehicle owners who want to experiment with color and businesses that need to update their fleet branding without the long-term commitment of a repaint.
The durability of modern vinyl films has improved dramatically. High-quality wraps can last between five and seven years, depending on environmental conditions and maintenance. They offer protection against minor rock chips, UV rays, and road debris. However, the longevity of the wrap is directly tied to the quality of the installation process. Poor preparation or incorrect application techniques can lead to premature peeling, bubbling, or color fading. Therefore, following a rigorous step-by-step process is non-negotiable for a professional result.
Step 1: Consultation and Design Alignment
The journey begins with a detailed consultation. This is not merely a sales pitch but a technical alignment session between you and the wrap specialists. During this phase, the goal is to translate your vision into a production-ready layout. You will discuss the scope of the project, whether it is a full color change, a partial accent wrap, or a complex multi-color fleet design.
At 360 Wraps, this step involves aligning on brand standards and fleet specifications. If you are a business owner, you will provide brand guidelines, including specific color codes and logo placements. The design team then creates digital proofs for your approval. This proofing stage is critical because it allows you to visualize the final result before any vinyl is cut. You can request adjustments to the layout, ensuring that the design flows correctly around the vehicle's contours and body lines. Once the design is approved, it moves to the production queue. This step ensures that there are no surprises during the installation phase.
Step 2: Vehicle Preparation and Surface Cleaning
Vehicle preparation is the most critical step in the installation process. The adhesion of the vinyl film depends entirely on the cleanliness and smoothness of the surface it is applied to. If the surface is contaminated, the wrap will fail to bond properly, leading to bubbles, lifting, or a rough texture. This step requires meticulous attention to detail and specialized cleaning agents.
The process begins with a thorough wash of the vehicle to remove loose dirt and grime. Following the wash, a clay bar treatment is used to remove embedded contaminants such as tar, tree sap, and industrial fallout. These microscopic particles can create bumps under the vinyl, ruining the smooth finish. After claying, the surface is wiped down with an isopropyl alcohol solution to remove any remaining oils or waxes. This ensures a chemically clean surface for the adhesive to bond to.
Additionally, any loose trim, emblems, or door handles may be removed to allow the vinyl to be tucked into edges. This technique, known as "tucking," provides a cleaner look and prevents the vinyl from peeling off at the edges over time. Some installers may also perform minor paint correction to remove swirl marks or scratches, ensuring the underlying surface is as smooth as possible. This level of preparation is what separates a professional installation from a DIY attempt.
Step 3: Printing and Production
While the vehicle is being prepared, the vinyl graphics are being produced. This step involves high-resolution printing on premium cast vinyl. Cast vinyl is preferred over calendered vinyl for vehicle wraps because it is more conformable, durable, and resistant to shrinking over time. The printing process uses eco-solvent or latex inks that are UV-resistant to prevent fading.
The printed vinyl is then laminated with a protective clear coat. This laminate layer adds gloss, enhances color vibrancy, and provides an additional barrier against UV rays and chemical exposure. After lamination, the vinyl is cut into panels using a plotter or hand-cut by the installer. The panels are labeled and organized according to the vehicle's body sections. This organization streamlines the installation process, allowing the installer to work efficiently without confusion. The production quality directly impacts the final appearance, so using high-grade materials is essential.
Step 4: Professional Installation
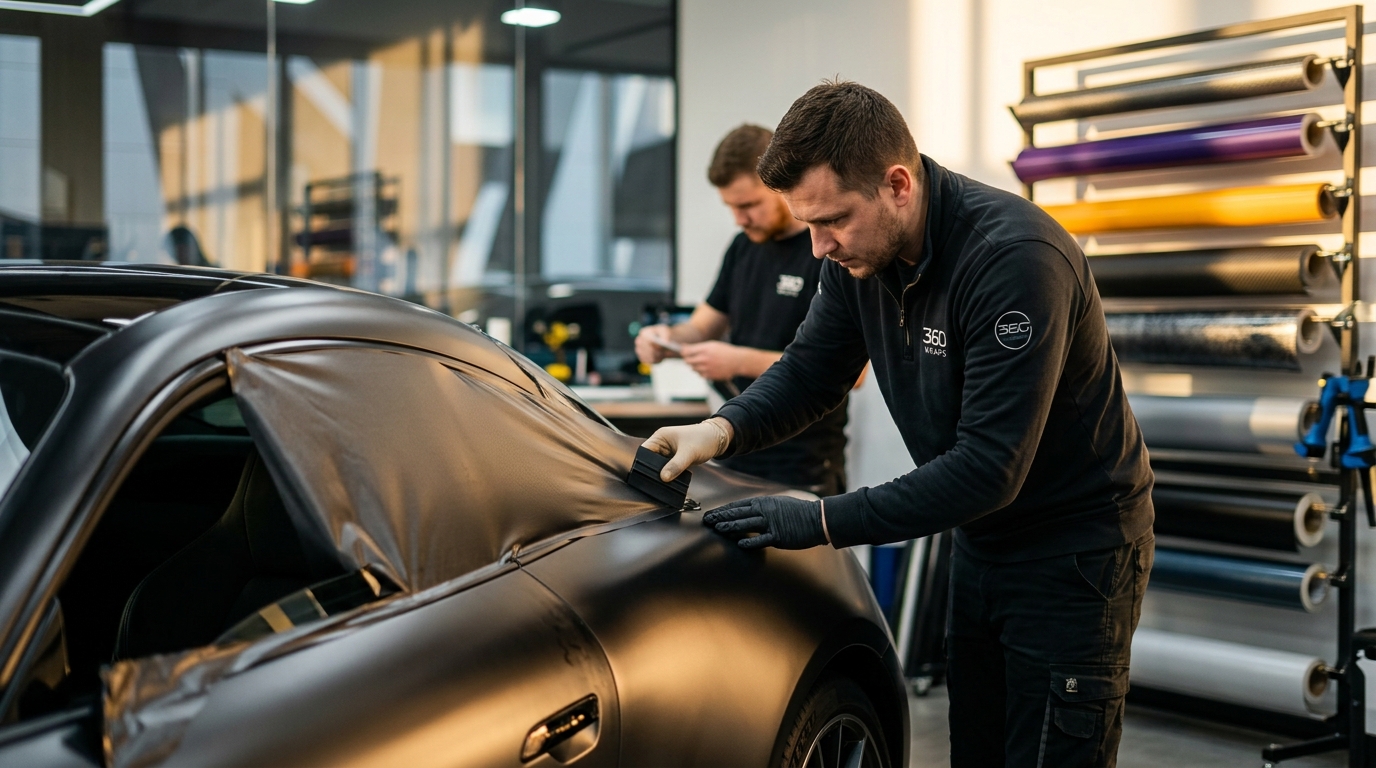
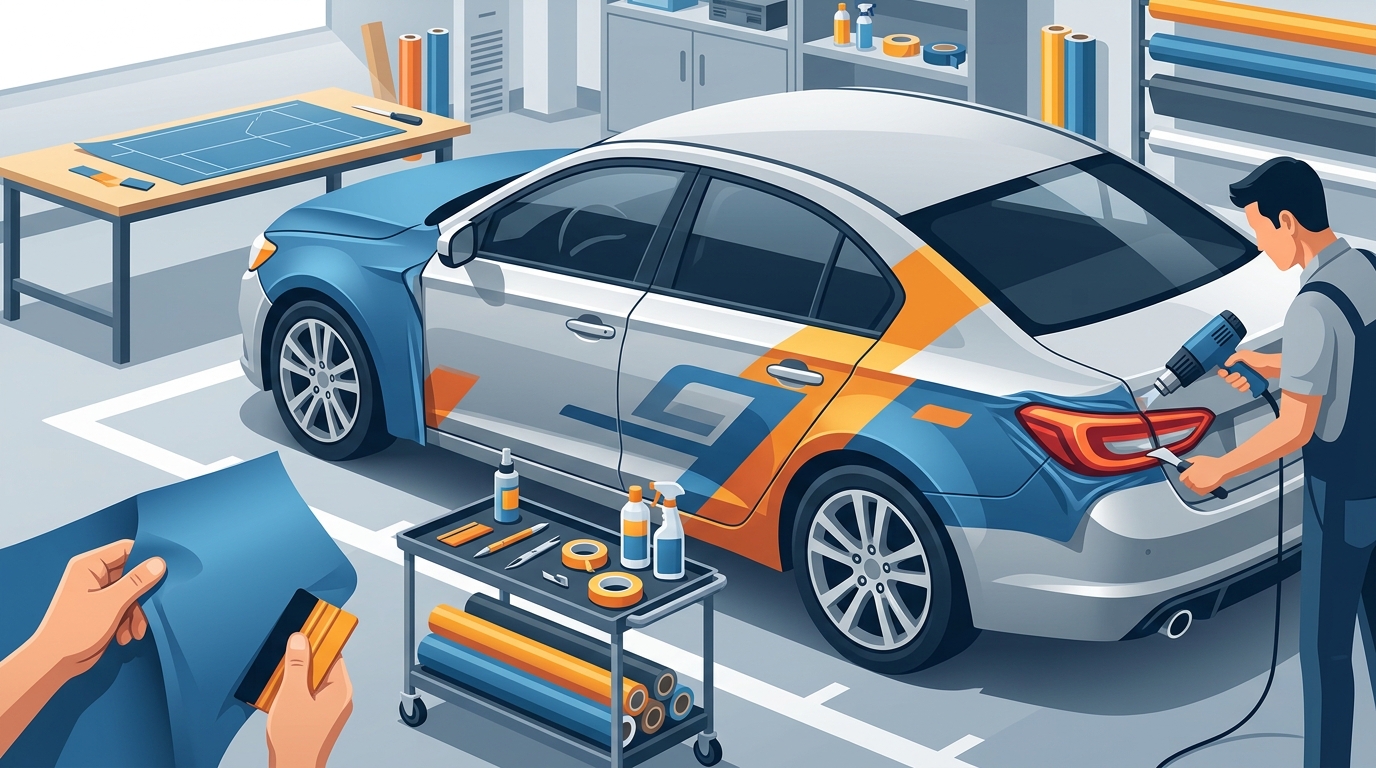
The installation phase is where the magic happens. This step requires skilled technicians who understand the physics of vinyl application. The process begins with the application of the largest, most visible panels first. The installer uses a heat gun to warm the vinyl, making it more pliable and easier to stretch around curves and edges. Heat also activates the adhesive, improving bond strength.
Using a squeegee, the installer carefully presses the vinyl onto the surface, working from the center outward to push out air bubbles and excess fluid. This technique, known as "wet application," allows for precise positioning and adjustment before the adhesive fully sets. The installer must maintain consistent tension to avoid wrinkles or stretching. As the vinyl approaches edges and contours, the heat gun is used again to help the material conform to the shape without tearing.
For complex areas like door handles, mirrors, and bumpers, the installer may use a knifeless tape technique. This method involves embedding a specialized tape under the vinyl, which can be pulled to cut the material cleanly without risking damage to the underlying paint. This technique is particularly useful for intricate designs and ensures a professional, factory-like finish. The installation process is methodical and requires patience, as rushing can lead to visible seams or misalignments.
Step 5: Quality Control and Final Inspection
Once the vinyl is applied, a rigorous quality control inspection begins. The installer examines the entire vehicle under bright lighting to identify any imperfections such as bubbles, dust particles, or misalignments. Any issues are addressed immediately while the vinyl is still warm and pliable. Small bubbles can often be popped and smoothed out with a pin and squeegee. Dust particles can be lifted and re-adhered if caught early.
The inspection also checks the edges and seams to ensure they are properly tucked and sealed. Loose edges are heat-sealed to prevent lifting. The installer ensures that the design aligns correctly with the vehicle's body lines and that there are no visible gaps between panels. This step is crucial for maintaining the aesthetic integrity of the wrap. At 360 Wraps, our certified installers follow a strict QC protocol to ensure every vehicle meets our high standards before it leaves the shop.
Step 6: Curing and Handover
After the installation is complete, the wrap needs time to cure. Curing is the process where the adhesive fully bonds to the paint surface. During this time, the vehicle should be kept dry and avoided from extreme temperature fluctuations if possible. The curing process typically takes 24 to 48 hours, but full adhesion can take up to a week. During this period, the installer will provide you with detailed care instructions.
These instructions will cover washing techniques, recommended cleaning products, and what to avoid, such as high-pressure washes on the edges or parking under trees that drip sap. Proper care during the curing phase ensures the longevity of the wrap. Once the curing is complete, the vehicle is ready to hit the road. The final result is a seamless, vibrant finish that protects your paint and enhances your vehicle's appearance.
Key Takeaways
- Preparation is Paramount: Over 80% of wrap failures are due to inadequate surface preparation, not the vinyl itself.
- Cast Vinyl is Superior: Always choose cast vinyl for vehicle wraps due to its conformability and durability compared to calendered vinyl.
- Professional Installation Matters: Certified installers use heat and tension techniques to ensure a seamless finish that DIY methods cannot replicate.
- Design Approval is Critical: Digital proofs allow you to catch errors before production, saving time and money.
- Quality Control is Non-Negotiable: A thorough inspection under bright light ensures no bubbles or dust particles remain.
- Curing Time is Essential: Allow 24-48 hours for the adhesive to fully bond before exposing the vehicle to harsh conditions.
- Long-Term Protection: A properly installed wrap can protect your original paint for 5-7 years, preserving resale value.
Frequently Asked Questions
How long does the vehicle wrap installation process take?
A full vehicle wrap typically takes 3 to 5 days to complete. This timeline includes design approval, vehicle preparation, printing, installation, and quality control. Partial wraps or fleet projects may vary in duration based on the number of vehicles and complexity of the design.
Can I wash my vehicle after getting a wrap?
Yes, but you must wait at least 24 hours after installation before washing. Use a hand wash method with a pH-neutral soap and avoid high-pressure washes near the edges of the vinyl for the first week. This ensures the adhesive has fully cured and bonded to the paint.
What is the difference between cast and calendered vinyl?
Cast vinyl is made by pouring a liquid resin onto a casting sheet, resulting in a thinner, more conformable film that is ideal for vehicle wraps. Calendered vinyl is stretched and rolled, making it thicker and less flexible. Cast vinyl is more durable and resistant to shrinking, making it the professional choice for long-term applications.
How do I remove a vehicle wrap?
Professional removal involves heating the vinyl with a heat gun to soften the adhesive, then slowly peeling it off. This process should be done by experts to avoid damaging the underlying paint. After removal, any residual adhesive is cleaned off with a specialized solvent, leaving the original paint intact.
Does a vehicle wrap damage the original paint?
No, a high-quality vinyl wrap protects the original paint from UV rays, rock chips, and minor abrasions. When removed by professionals, the wrap should leave the paint in the same condition as when it was applied, provided the paint was in good condition before the wrap was installed.
What is the cost of a custom vehicle wrap?
The cost varies based on the size of the vehicle, the complexity of the design, and the type of vinyl used. A full color change for a standard sedan typically ranges from $2,500 to $5,000. Fleet wraps and luxury vehicles may cost more due to the increased material and labor requirements.
Can I choose any color for my wrap?
Yes, you can choose virtually any color, finish, or texture. Options include matte, gloss, satin, metallic, chrome, and even textured finishes like carbon fiber. The design team can match specific brand colors or create custom graphics to suit your preferences.
Get Your Custom Wrap Today
Ready to transform your vehicle with a seamless, professional vinyl wrap? 360 Wraps combines design, production, and installation under one roof to deliver exceptional results. With over 17 years of experience and a network of certified installers across all 50 states, we ensure your wrap looks sharp and lasts long. Visit our quote page to get started on your project today.